Home Improvement - Complete Coverage
KDArchitects Landscape Ideas By Roger Morph Unlock simple, green yard tips from Roger Morph at KDArchitects. Blend nature with home for low-care beauty. Native plants, smart patios, and more boost your space in 2025! Hey there, friend. Ever stare at your backyard and think, “This could feel like a cozy hug from the woods”? That’s… KDArchitects Landscape Ideas By Roger Morph – Home Improvement
A swimming pool is a place to cool off in the summer. It’s often the heart of a backyard, where families gather and friends relax. Over time, however, even the most well-built pools can lose their charm. Fading tiles, outdated finishes, and worn-out features can make a pool feel less inviting. That’s where thoughtful renovation… Why Homeowners Choose Albury Builders for Pool Renovation Projects – Home Improvement
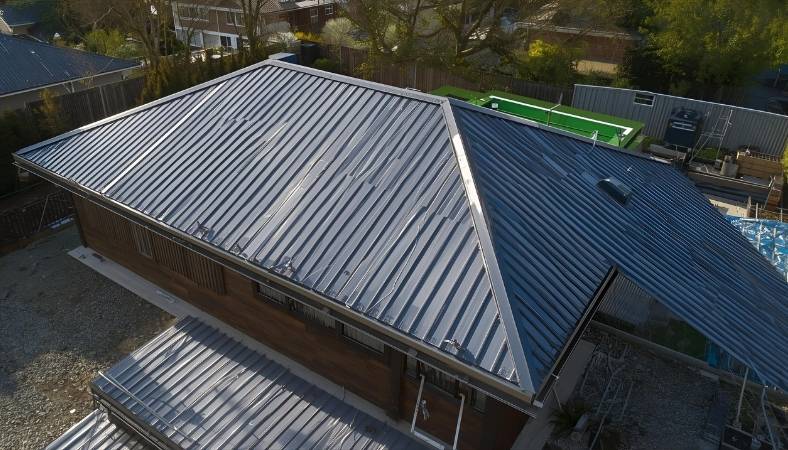
Discover the NZ Metal Roof and Wall Cladding Code of Practice your simple guide to strong, leak-free roofs. Learn key tips, latest updates, and how it fits NZ building rules for safer homes. Key Takeaways The NZ roofing COP helps keep roofs strong and dry in our windy, rainy weather. It shows builders how to… NZ Roofing Code of Practice Guide – Home Improvement
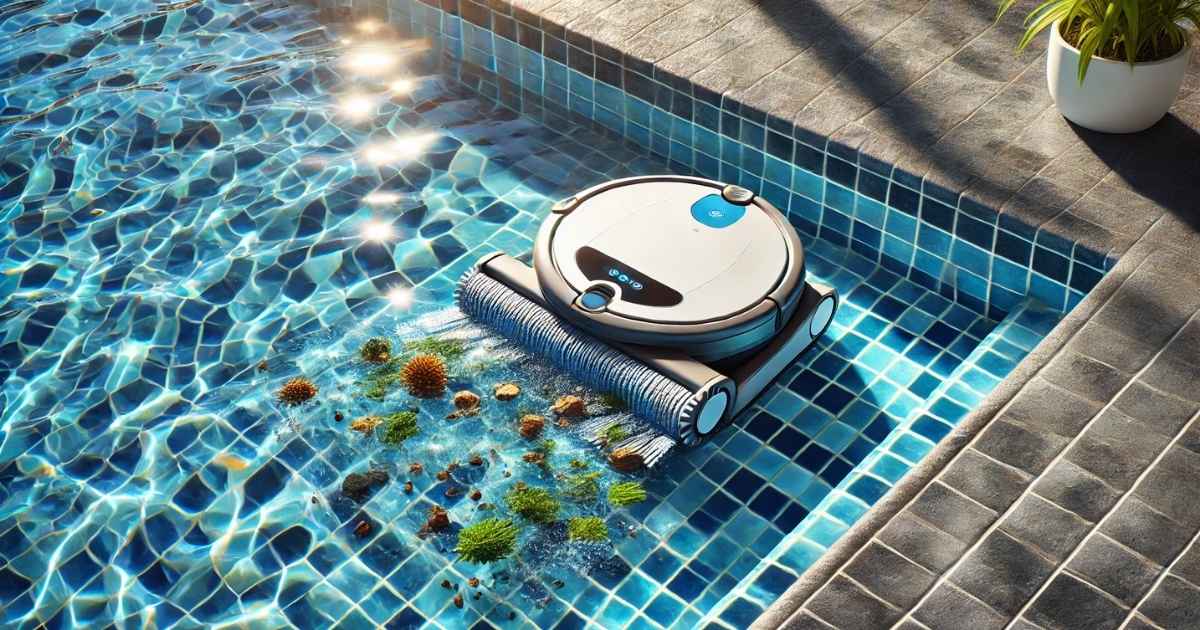
Best Pool Robot Owning a pool seems like a luxury until you have to spend hours skimming leaves. I’ve been there, stuck grumbling as the wind throws debris into the water. That’s where the best pool robot comes into play. With these machines, you don’t have to spend money on a pool cleaner, and save… Best Pool Robots: Top Picks for Effortless Cleaning – Home Improvement
Electricity powers our homes, fuels our appliances, and keeps us connected in countless ways. For Australian consumers, understanding energy rates isn’t just about reducing bills; it’s also about making informed decisions for a sustainable future. With rising utility prices and an increasing number of energy plans to choose from, the time has come to take… Understanding Energy Rates: A Guide to Making Smarter Decisions – Home Improvement
Planning a concrete driveway? One of the most important things to get right is the thickness. It affects how much weight your driveway can hold, how long it will last, and how much upkeep it might need down the line. If you’re upgrading an old one or starting fresh, understanding driveway thickness is a key… How Thick Should Your Concrete Driveway Be in Brisbane? – Home Improvement
Of late, kitchen has ceased being a cooking place; it is now the very heart of home where style almost meets beauty. One youth trend in the kitchens today is black kitchen sink faucets recently becoming more popular. Black kitchen sink faucets are sleek, modern, and understated functional beauties that finish off the hat and… Black Kitchen Sink Faucets Becoming More Favored because these is Very beautiful and Functional Appeal – Home Improvement
In recent years, saltwater pools have re-emerged as a popular alternative to traditional chlorine pools. This trend has gained significant momentum due to the numerous benefits these pools offer, particularly when it comes to health, maintenance, and long-term cost-effectiveness. As more homeowners look for ways to improve their experience, swimming pool salt water chlorinators stand… How Upgrading to a Salt Water Pool Chlorinator Benefits Your Pool – Home Improvement
Introduction Betta Electrical has become a household name in Australia, renowned for its vast selection of home appliances and exceptional customer service. If you’re looking for the best electrical products, whether it’s a new fridge, washing machine, or air conditioner, Home Appliances has you covered. With a strong presence in the Australian market, their stores… Betta Electrical: Your Ultimate Guide to Top Home Appliances and Services in Australia – Home Improvement
Opening Statement Australian company Howards Storage World has made a name for itself as the go-to source for useful and fashionable storage options. The business serves a variety of needs for both homes and offices, from stylish shelving systems to cutting-edge kitchen organization solutions. Storage for Every Budget provides a solution that meets your demands,… Howards Storage World: A Comprehensive Guide to Storage Solutions – Home Improvement
Article Summary: A children’s table and chairs are essential pieces of furniture for any home with young children. These sets provide your children with a comfortable, secure, and practical space for eating, playing, and learning. The different types of children’s tables and chairs, including popular models like the IKEA kids table and chairs, will be… The Ultimate Guide to Kids Table and Chairs: Everything You Need to Know – Home Improvement
Article Summary How to refill butane lighter can seem straightforward, but it requires attention to detail to ensure safety and functionality. This guide breaks down the process into manageable steps, helping users understand the essentials of butane lighter maintenance. This article provides comprehensive insights, from choosing the right butane fuel to troubleshooting common issues. Readers… The Ultimate Guide to Refilling Your Butane Lighter – Home Improvement
Article Summary How to insulate car window is essential for enhancing comfort and energy efficiency. Proper insulation reduces heat loss in winter and heat gain in summer. This guide covers various methods to insulate car windows effectively. Each method has benefits, from using window films to employing DIY solutions. Understanding the materials and techniques available… How to Insulate Car Window: A Comprehensive Guide – Home Improvement
Article Summary How to fix creaky floors can be a frustrating issue in any home. They often disrupt the peace and quiet of your living space. This guide explores effective methods to fix creaky floors, helping you restore comfort and tranquility. From identifying the root causes to implementing practical solutions, readers will find a wealth… How to Fix Creaky Floors: A Comprehensive Guide – Home Improvement
Introduction to MS Saltillo In recent years, the term MS Saltillo has gained significant traction in various industries, particularly in construction and interior design. This article aims to provide a comprehensive guide to MS Saltillo, including its features, benefits, and applications, ensuring readers understand why this material is highly sought after. What is MS Saltillo? Understanding Saltillo… Exploring the Benefits and Applications of MS Saltillo Tiles – Home Improvement
Discover Avenel New Jersey: Your Ultimate Guide to This Hidden Gem Avenel, New Jersey, may not be as widely known as some of the larger cities in the Garden State, but this charming township has much to offer to those who take the time to explore it. Nestled in Woodbridge Township in Middlesex County, Avenel… Discovering Avenel, New Jersey: A Comprehensive Guide to Living, Working, and Exploring This Hidden Gem – Home Improvement
Introduction to the Daikin AC Remote: Your Gateway to Comfort Daikin air conditioners are renowned for their energy efficiency, advanced technology, and user-friendly features. At the heart of every Daikin AC unit is the Daikin AC remote, a compact yet powerful tool designed to simplify your air conditioning experience. This guide dives deep into the… The Ultimate Guide to Daikin AC Remote: Features, Functions, and Troubleshooting Tips – Home Improvement